Menu
| Property | > | Lease Options |
Application Tool / Status Bar Calls
This Application can be called by clicking the Application tool-bar push button: Process when maintaining Diary entries for Leases.
This Application can be called by clicking the Application tool-bar push button: Outgoings when maintaining Outgoings Profile for Lease components.
Mandatory Prerequisites
Prior to processing Lease Options, refer to the following Topics:
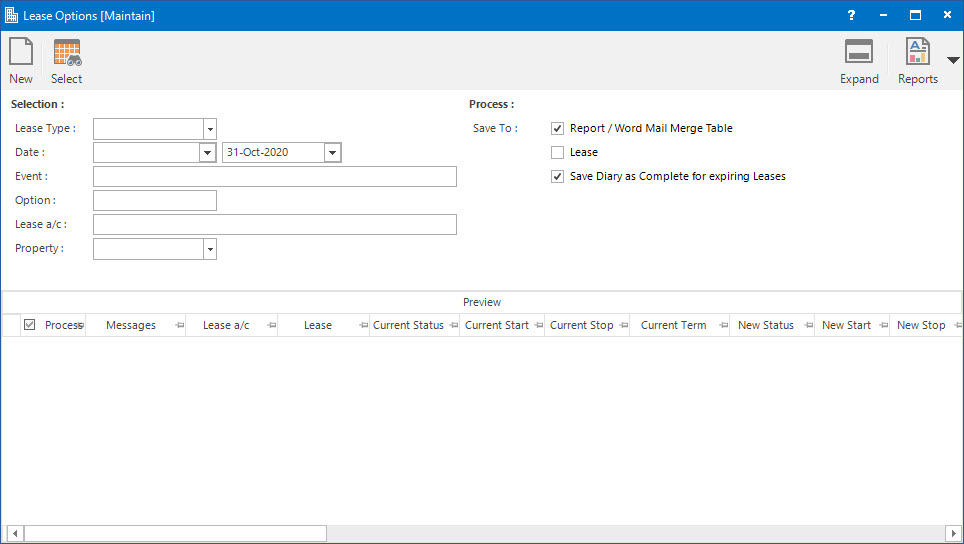
Screenshot and Field Descriptions
Selection
Lease Type: this is a selection filter option for the type of Lease to find the Lease Options for.
Date (From / To): this is a selection filter value for the date range of the Lease Stop Diary dates.
Event: this is a selection filter value for the Lease Stop Diary event type to process.
Property: this is a drop down list of the Property / Lease entities that the selection can be filtered on. Select a value from the drop down list and the appropriate filter field will be displayed.
Process
Save To: these are the options of where to save the updated lease options data to when the process is run. The options are:
- Report / Word Mail Merge Table: the updated lease option data will be saved to a temporary table for running the validation report and Word Mail Merge letters.
- Lease: when this option is selected the updated lease option data is saved to the Lease and the process is considered finalised.
- Save Diary As complete for expiring Leases: tick this check box if the Lease Stop Diary date should be marked as Complete when the process is run.
Preview
Lease Options Preview table: this will be populated with the Lease Option records to be changed. The check box in the Process column can be ticked to include / exclude rows in the grid.
How Do I : Run the Lease Option Process
If a Lease Option report is already held in the system (from a previous run) the Application tool-bar push button: X Report will appear. Click the button to reset the pending report so a new Lease Option process can be run.
The Lease Option report is only temporary. It will be overwritten when the next Lease Option process is run.
The Lease Options Process is associated with the following Topics: